Continuously Rasterize, also known as “Collapse Transformations,” is the secret ingredient for maintaining sharp and detailed vector layers, even when scaled to various sizes.
In this guide, we’ll explore how Continuously Rasterize empowers you to work with vector graphics in AE, ensuring that your designs remain crisp and clear, regardless of scale. From logo animations to complex motion graphics, this feature is a game-changer.
Continuously Rasterize
when you work on Illustrator files and scale up them, you may find that the edges are jagged and blurry. To solve this, click on “Continuously Rasterize” switch for vector layers. Now you can see the edges are sharp.
When you import vector graphics layers in After Effects, these elements are initially defined as vector-based, meaning they are resolution-independent and can be scaled without loss of quality.
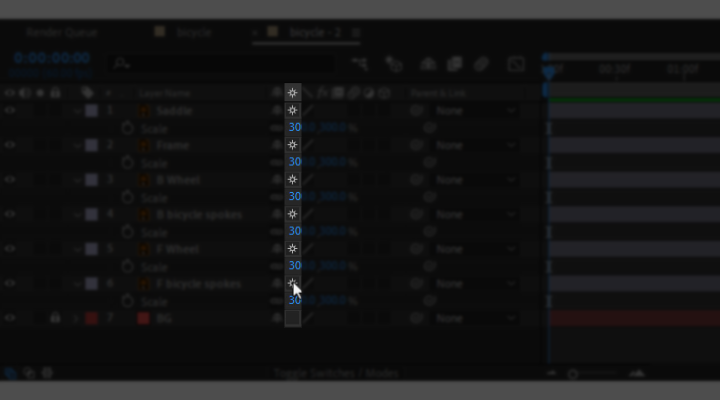
In many cases, you might need to scale, rotate, or apply various transformations to these layers as part of your animation or motion graphics project. To ensure that these vector layers maintain their sharpness and clarity even after transformations, you can enable the “Continuously Rasterize” switch for the layer. This switch looks like a sun icon within the layer switch column in the Timeline panel.
If you don’t see Continuously Rasterize switch, click on Toggle Switch/Mode (at the bottom of the Timeline panel) Or press F4
For better learning, we suggest you to watch the tutorial video: Continuously Rasterize Switch in Adobe After Effects
Suggested tutorials: