Text Animation Presets
Text Animation Presets | The fastest and easiest way to create text animations in a After Effects project.
Windows 10 Pro Edition VS Enterprise Edition
Explore the nuances of Windows 10 Professional vs. Windows 10 Enterprise. Discover the ideal corporate choice for top-tier security and scalability.
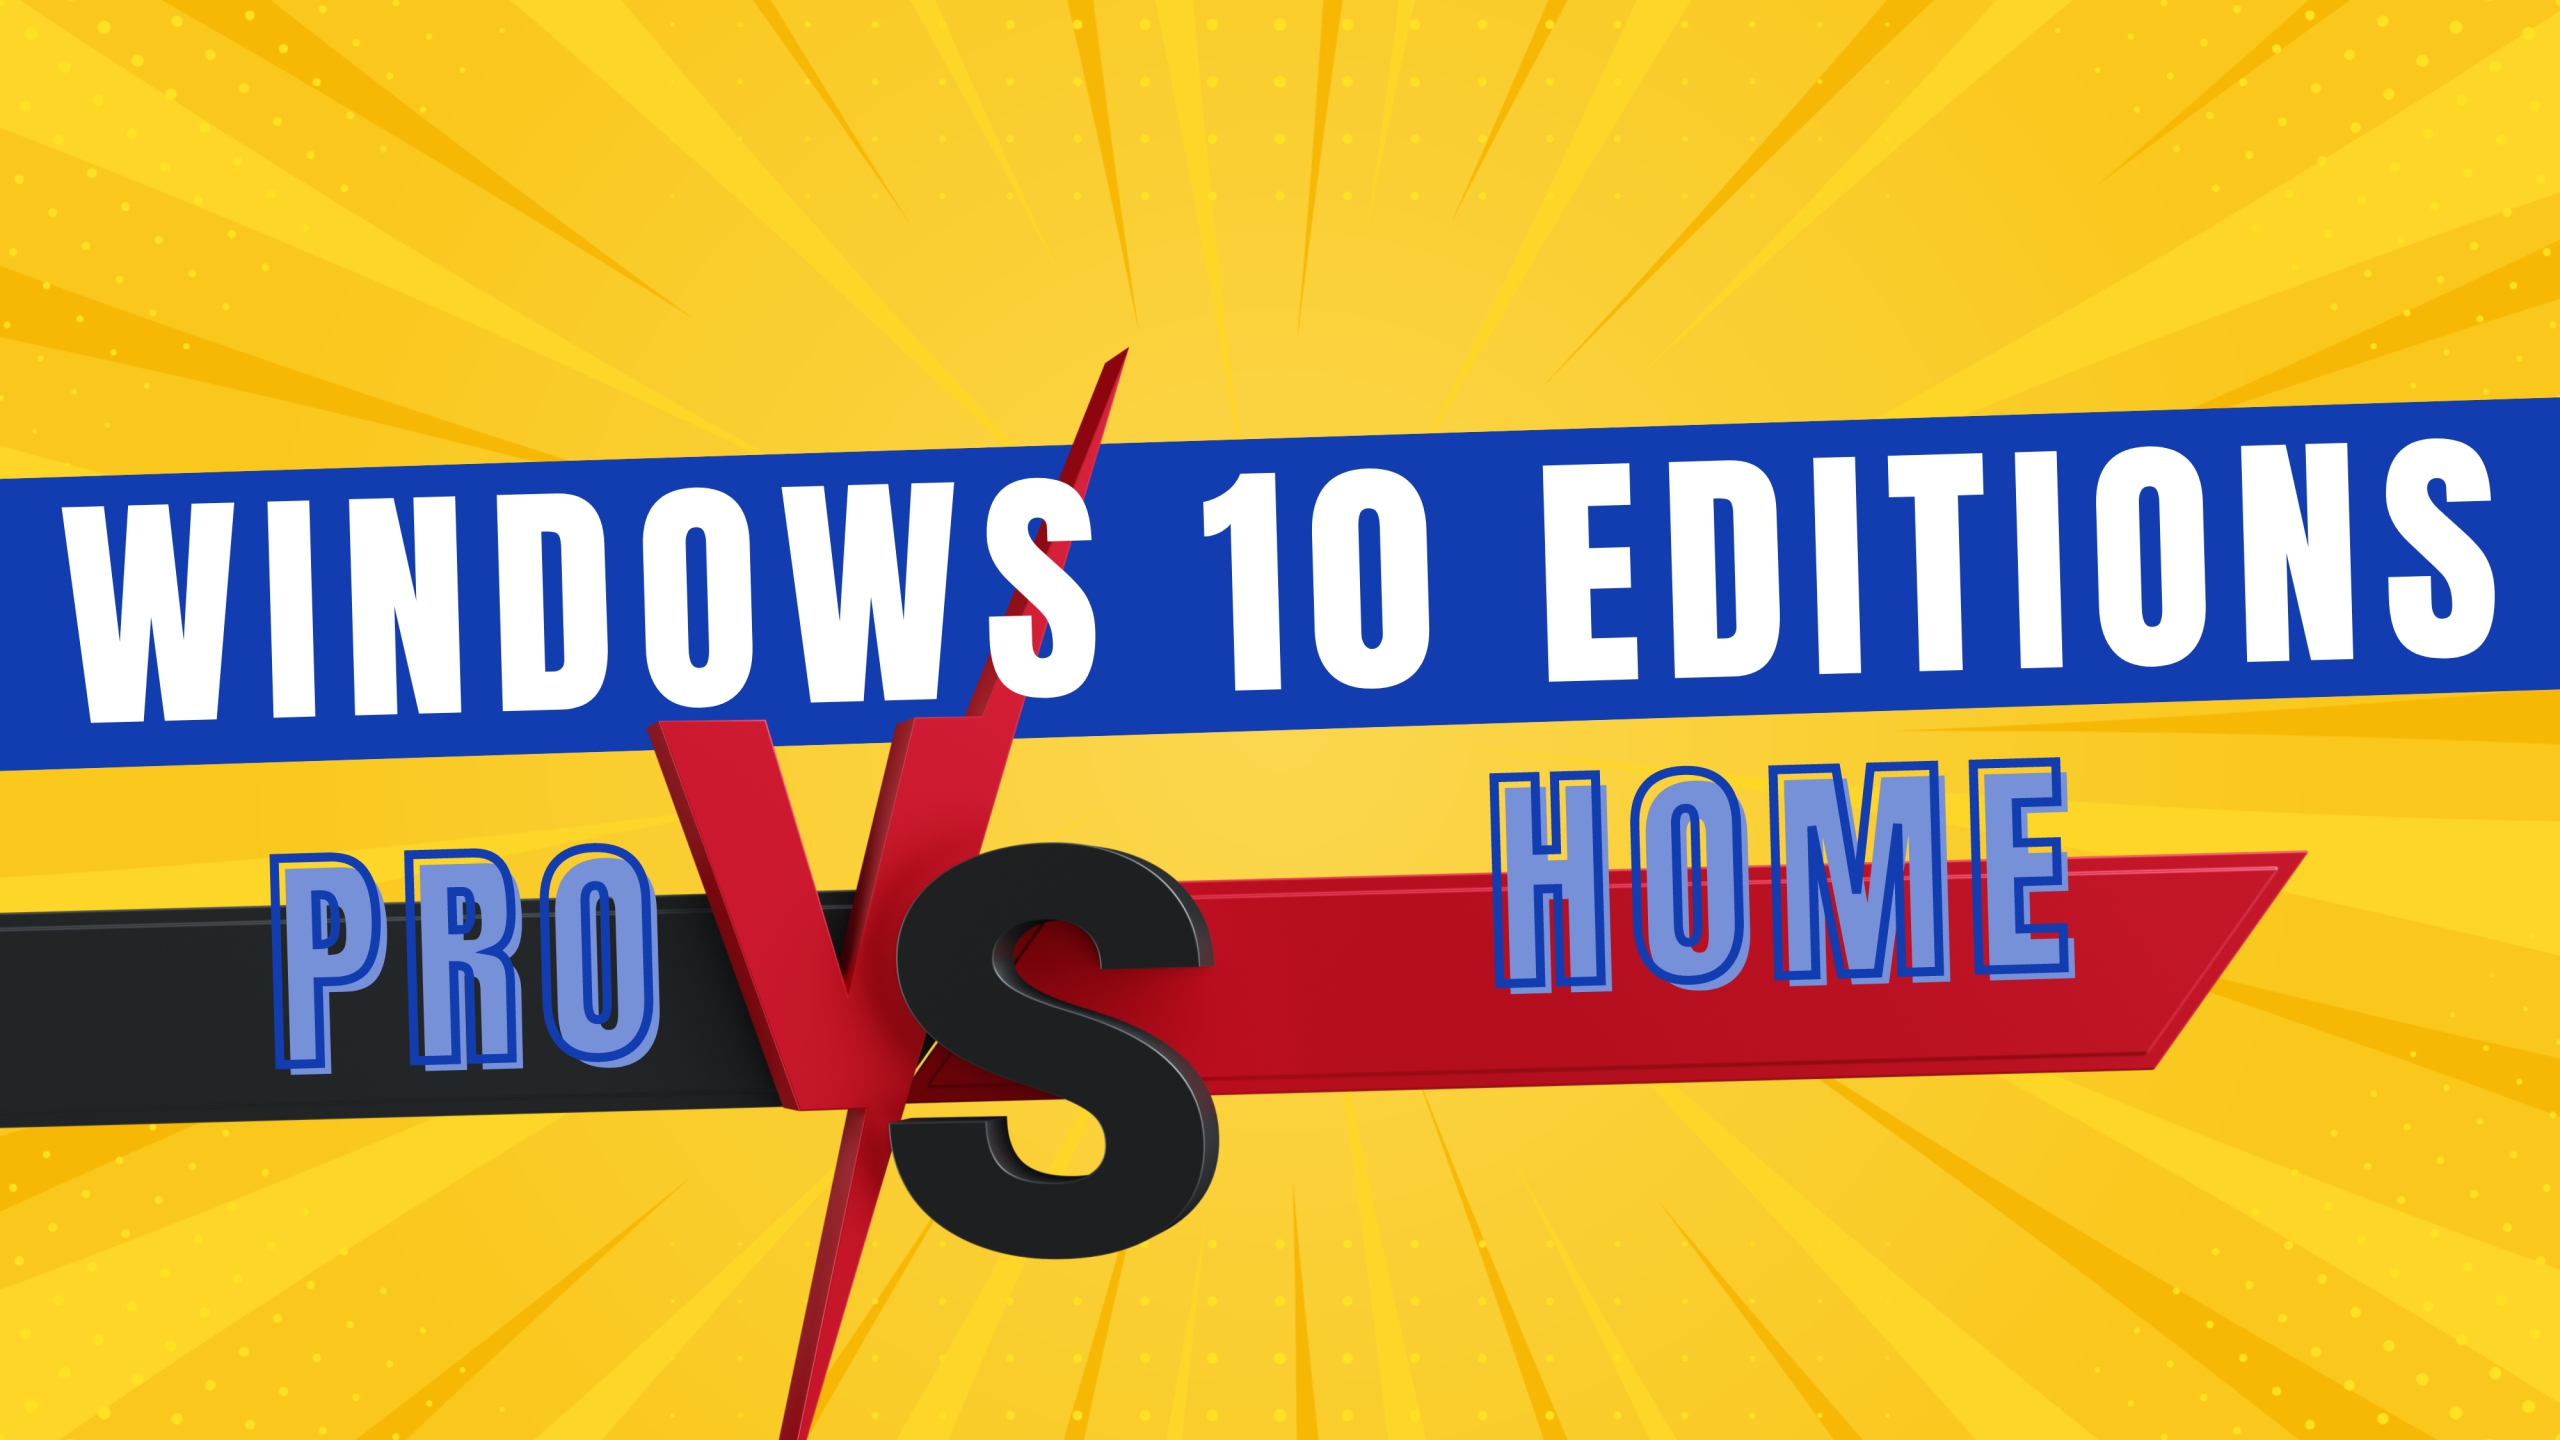
Windows 10 Home Edition VS Pro Edition
Confused about Windows 10 editions? This in-depth guide breaks down the key differences between Home and Pro, helping you choose the perfect fit for your

Continuously Rasterize Switch in Adobe After Effects
Unlock vector clarity with Continuously Rasterize in After Effects. Learn to scale graphics flawlessly in this comprehensive tutorial.
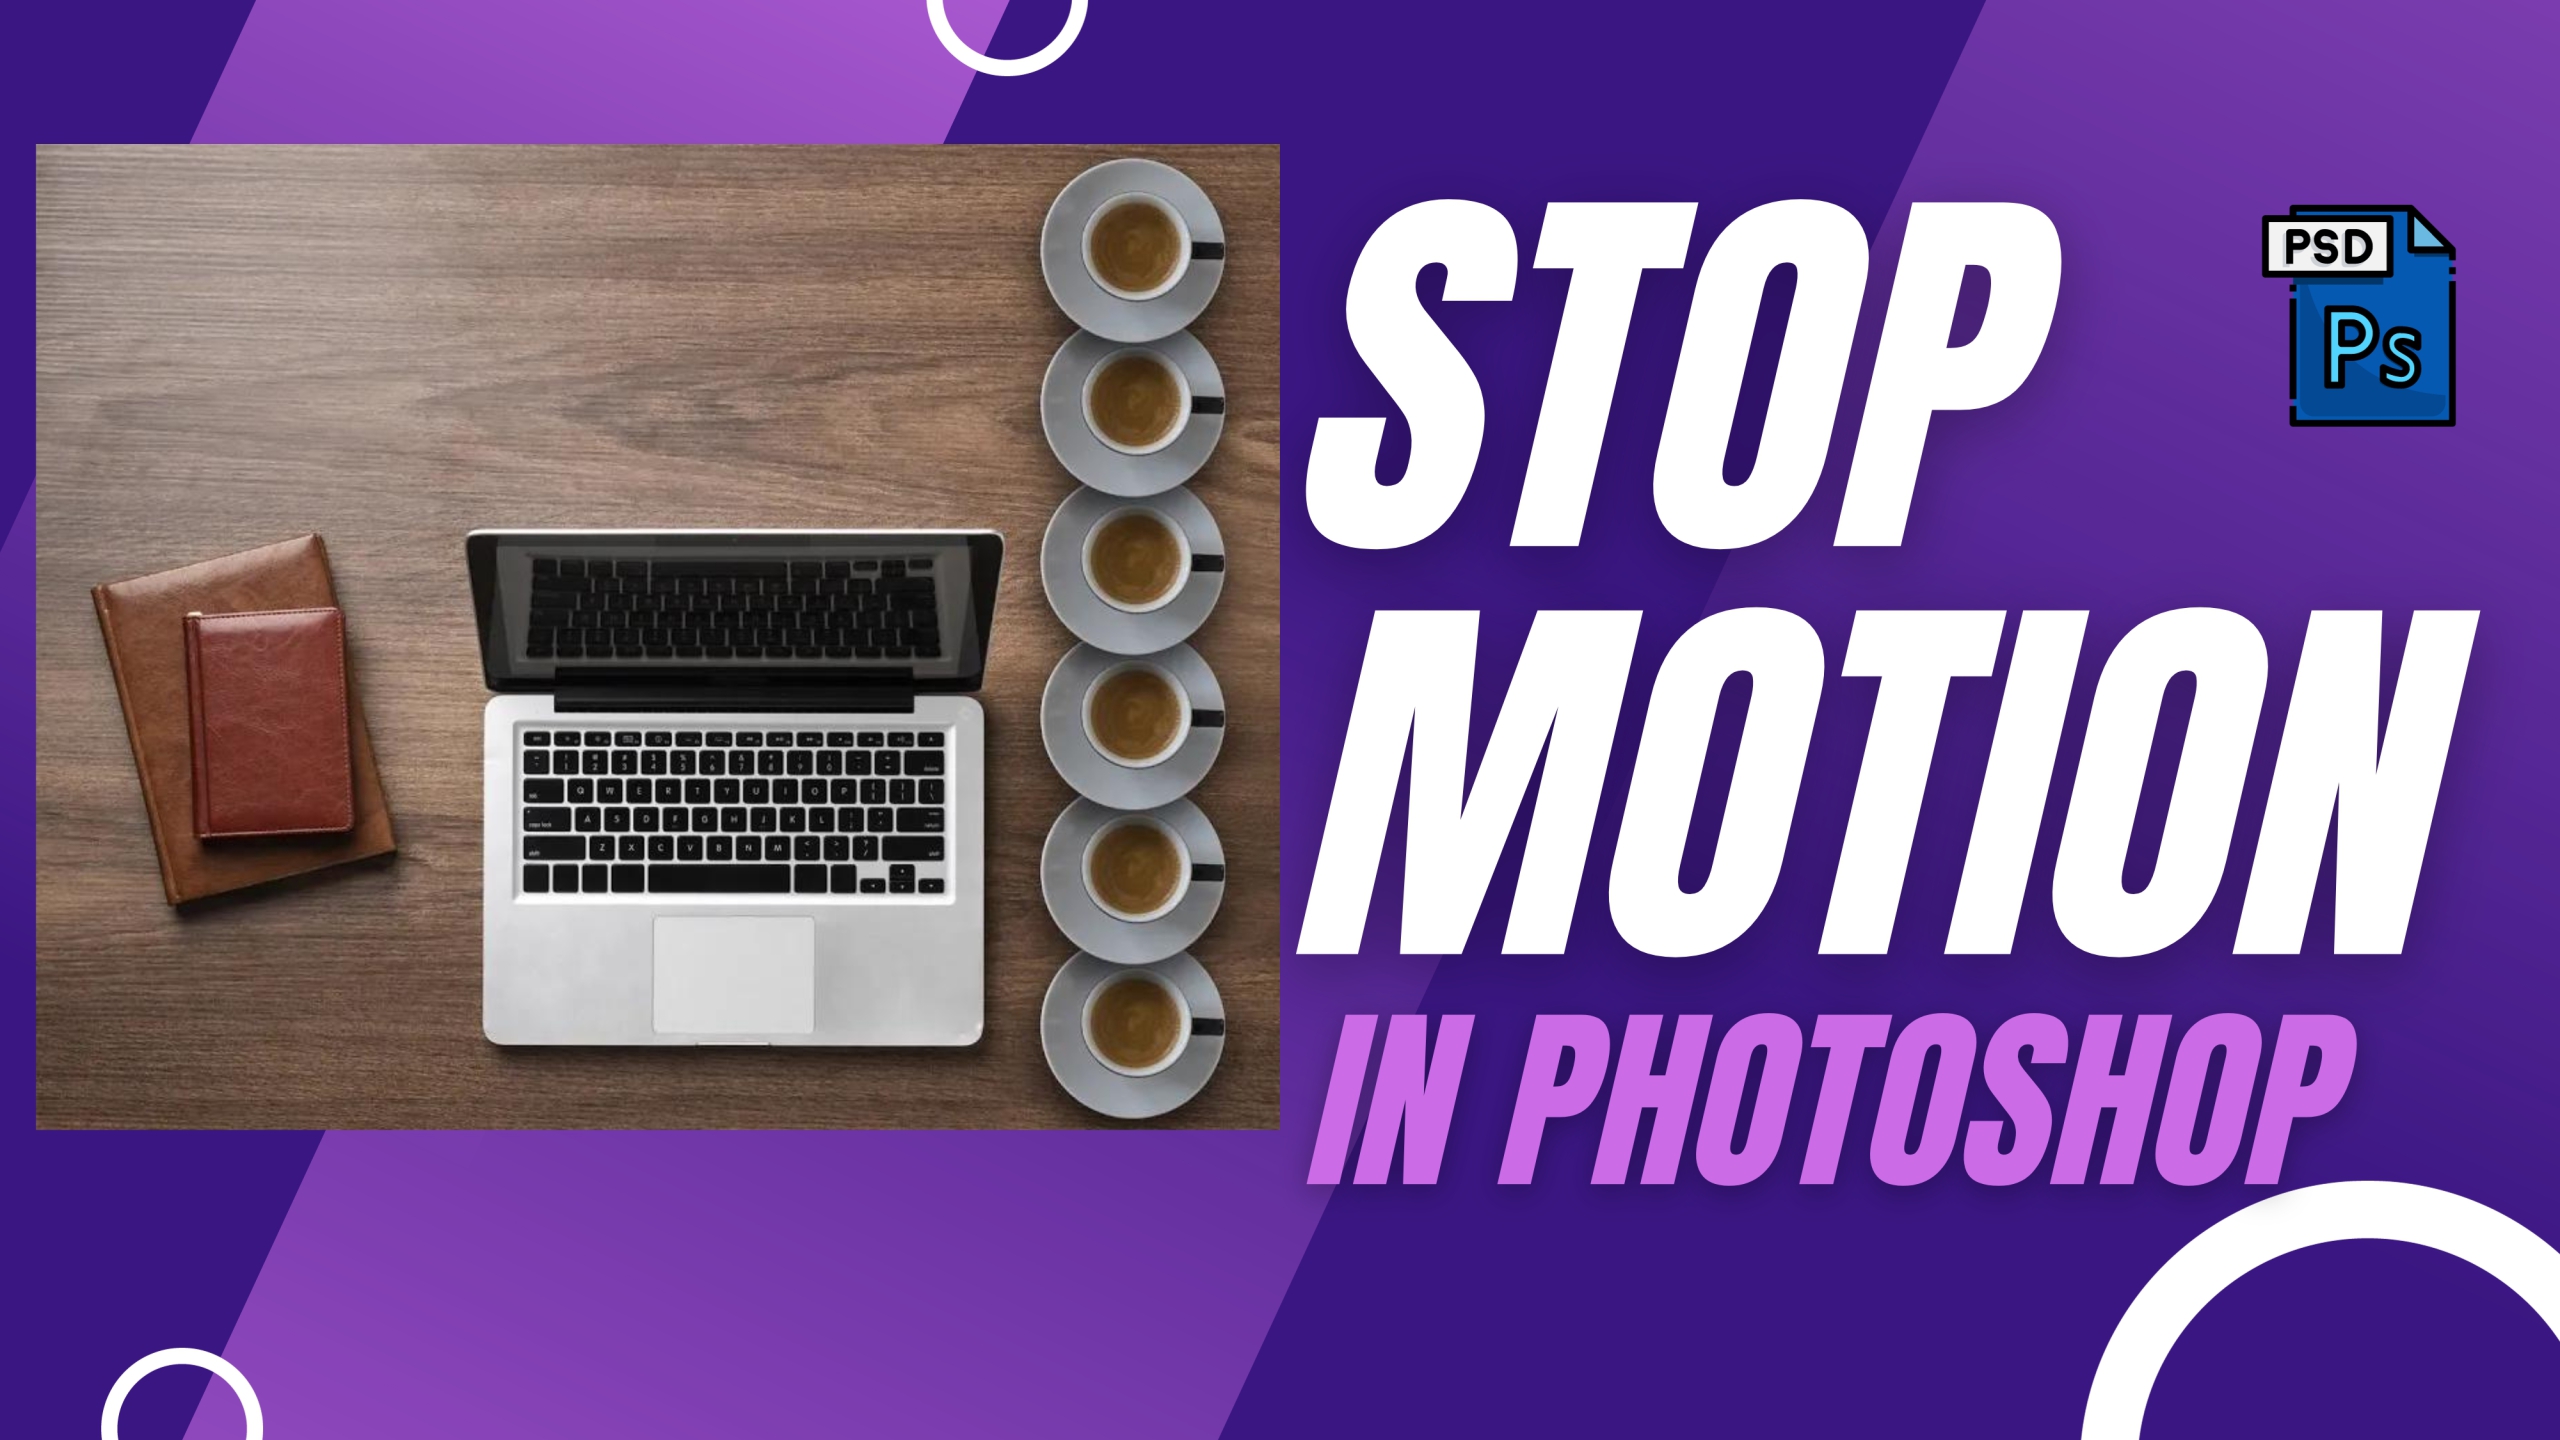
How to Create a Stop Motion Animation in Photoshop.
Master the art of stop motion in Photoshop. Create captivating animations with our step-by-step guide. Perfect for beginners and experienced animators.
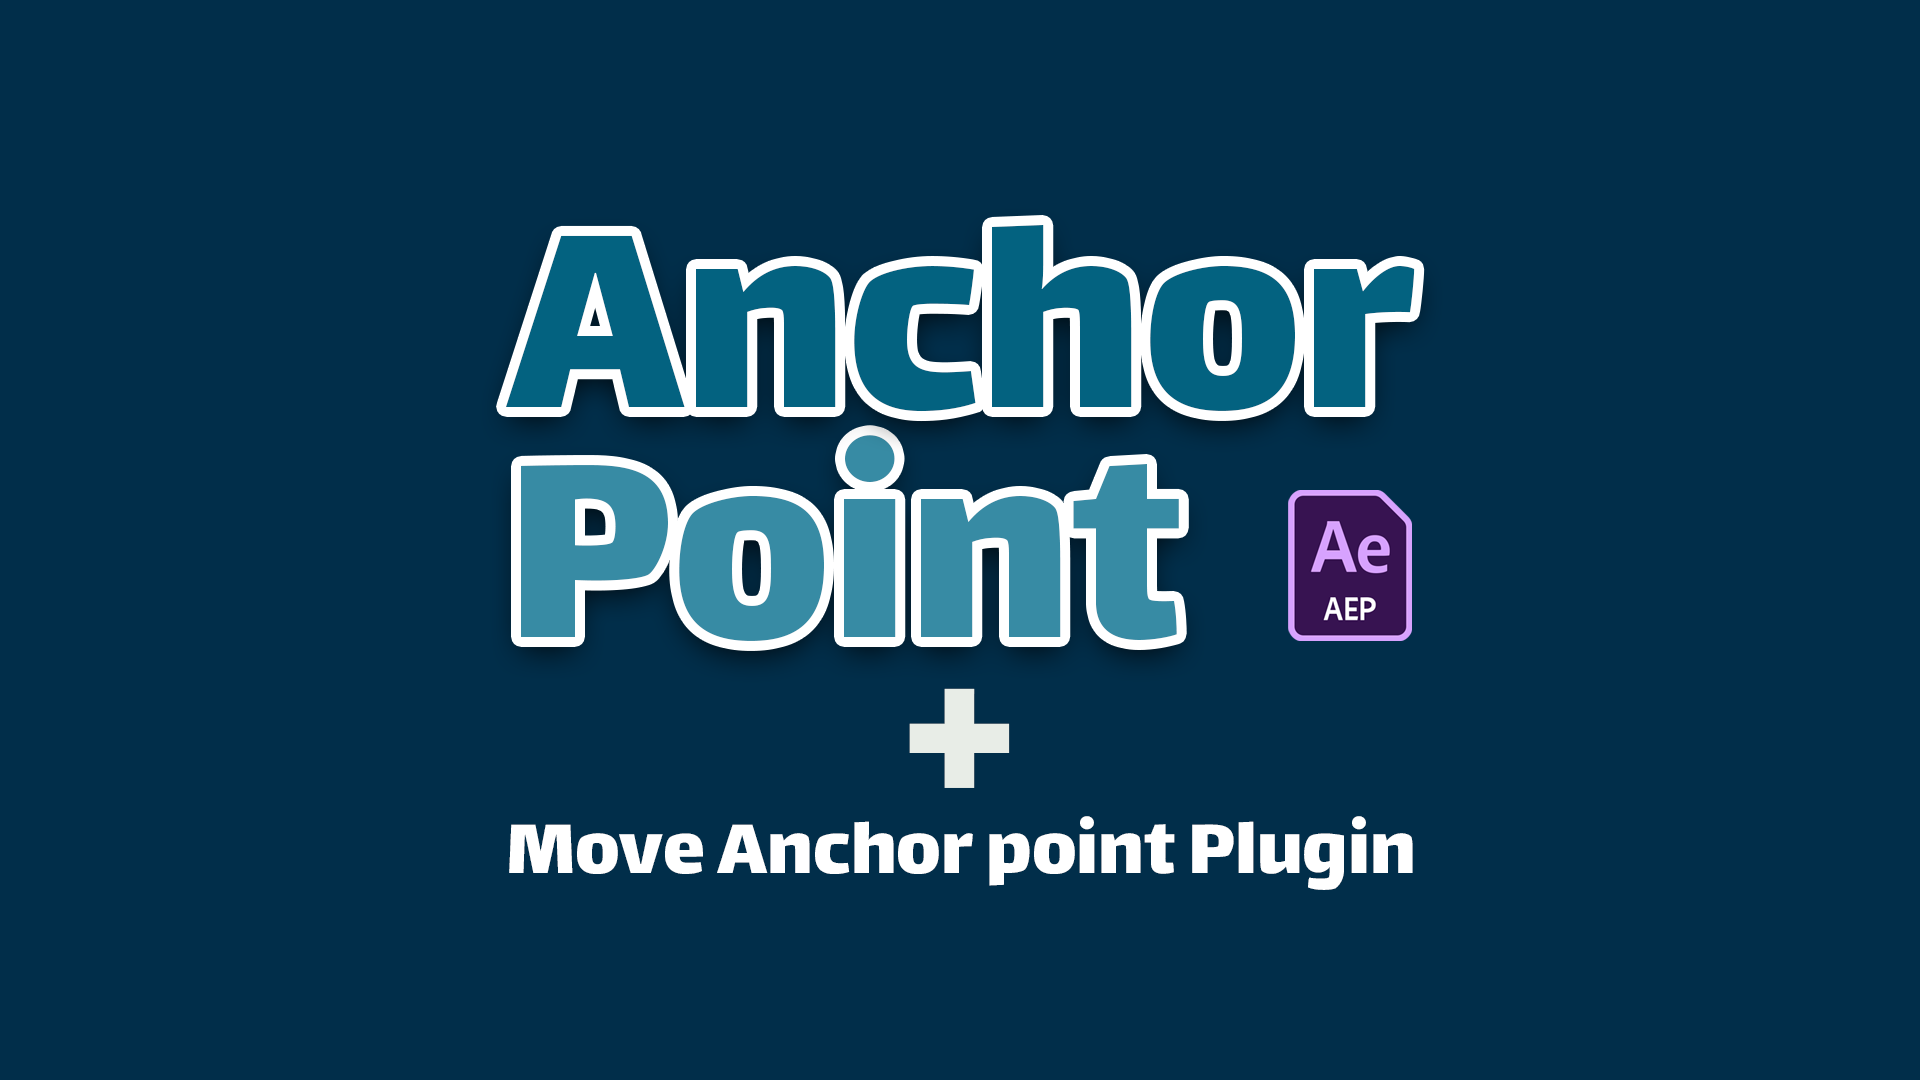
Anchor Point in After Effects
Warning! First of all, set the anchor point. The anchor point refers to the critical point for transformations.