In any motion graphics project, texts are one of the main parts of that project. There are several methods to create a text animation and personalise it in After Effects.
In this tutorial, we will explain one of the sections in text layer that you can use to create endless different text animations.
Create Text Animation in After Effects
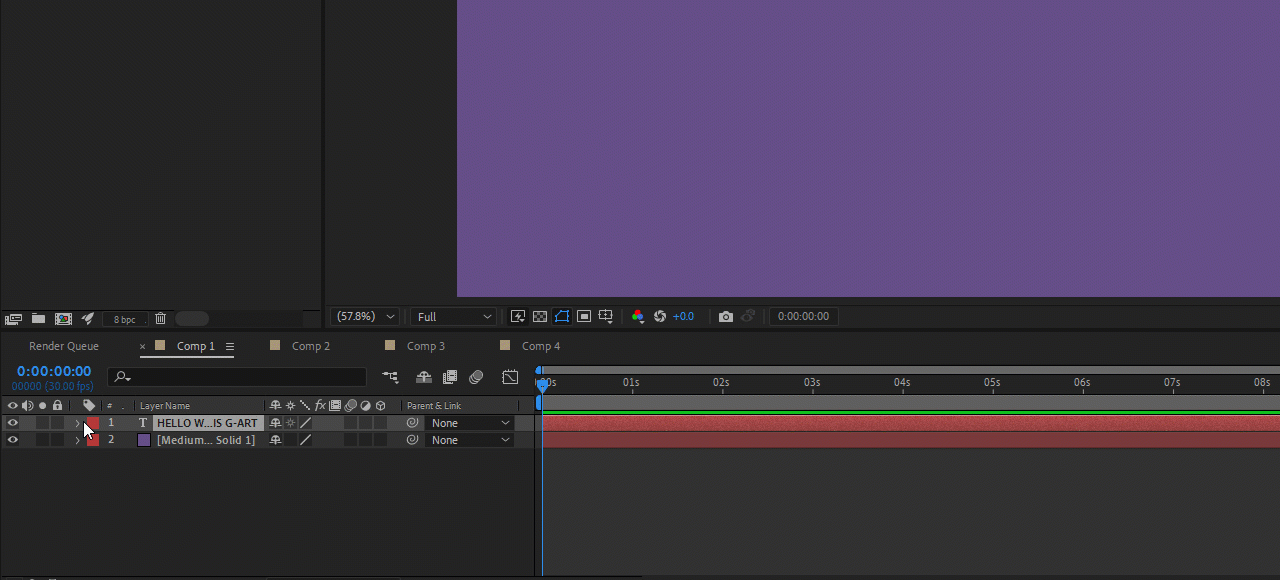
To create a text animation, the first step is to type the desired text. then if you look at the timeline panel and the text layer, you will see a section called Text. in this tutorial we are going to talk about this section and examine its various capabilities.
one of the text layer properties is an animation menu with which we can create very different and attractive animations for your text.
In short, creating a text animation with the help of this menu has the following 3 steps:
- Add an animator to specify which properties to animate.
- Adjust the animator properties.
- Use a selector to specify how much each character is affected by the animator.
After typing your text, you should navigate to timeline panel and text layer, then choose a property that you want to animate it from the Animation menu, located in the Switches/Mode column of the Timeline panel.
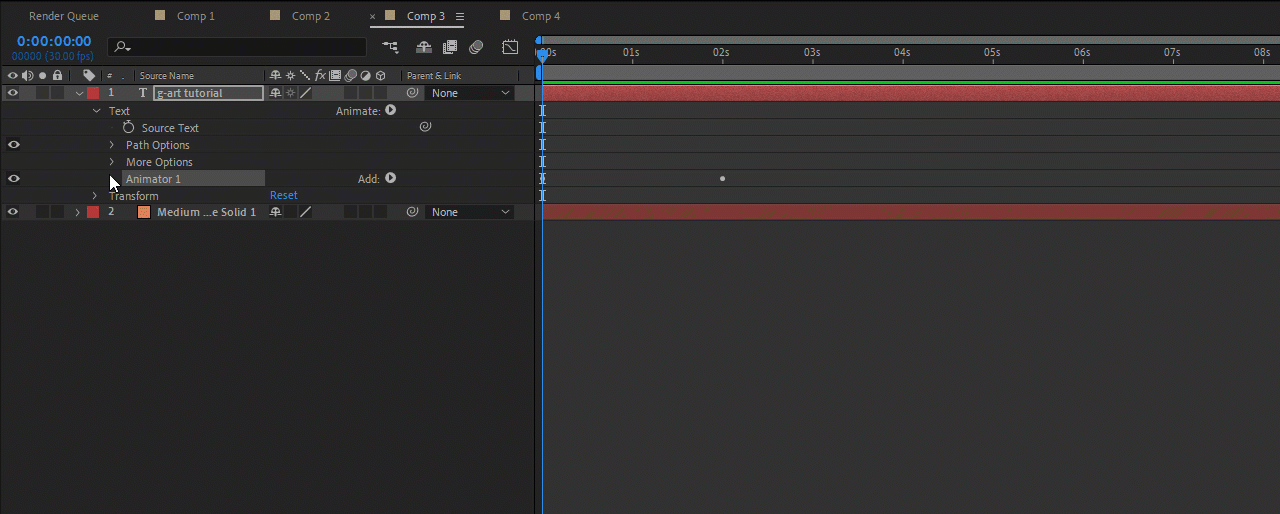
After choosing the property that you want to animate, a new section will be created for you in the text layer called Animator. then, in the Timeline panel and text layer, adjust the animator property value(s).
Note that you can add multiple properties to an Animator (e.g., Opacity, Position, Skew, Blur, etc.)
In the last step, open the Range Selector section and set keyframes for Start or End properties.
Usually, you don’t need to set keyframes or expressions for the animator properties. It’s common to only set keyframes or expressions for the selector and specify only the ending values for the animator properties.
Advanced Settings
There is an advanced menu in the Range Selector section. With the help of this menu, you can personalize the text animation as much as possible. Some settings such as: Based On, Shape, Smoothness, etc. are in this menu.
- Based On determines the animation will be performed on characters, characters excluding spaces, words, or lines.
- Shape controls how characters are selected between the Start and End of the range. Each option modifies the selection by creating transitions between selected characters using the chosen shape.
- Smoothness determines the amount of time the animation takes to transition from one character to another when you use the square shape.
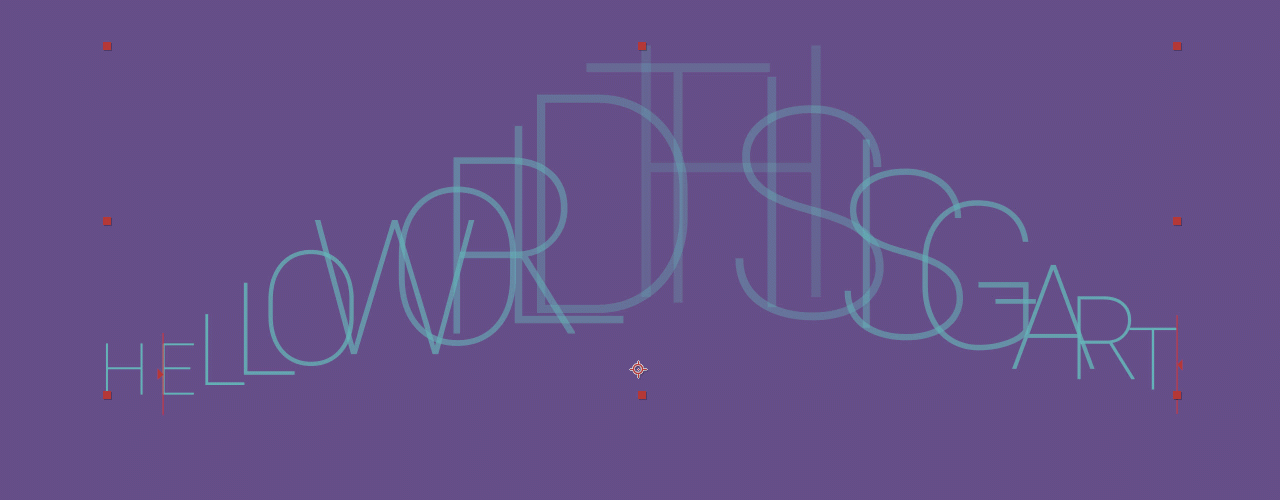
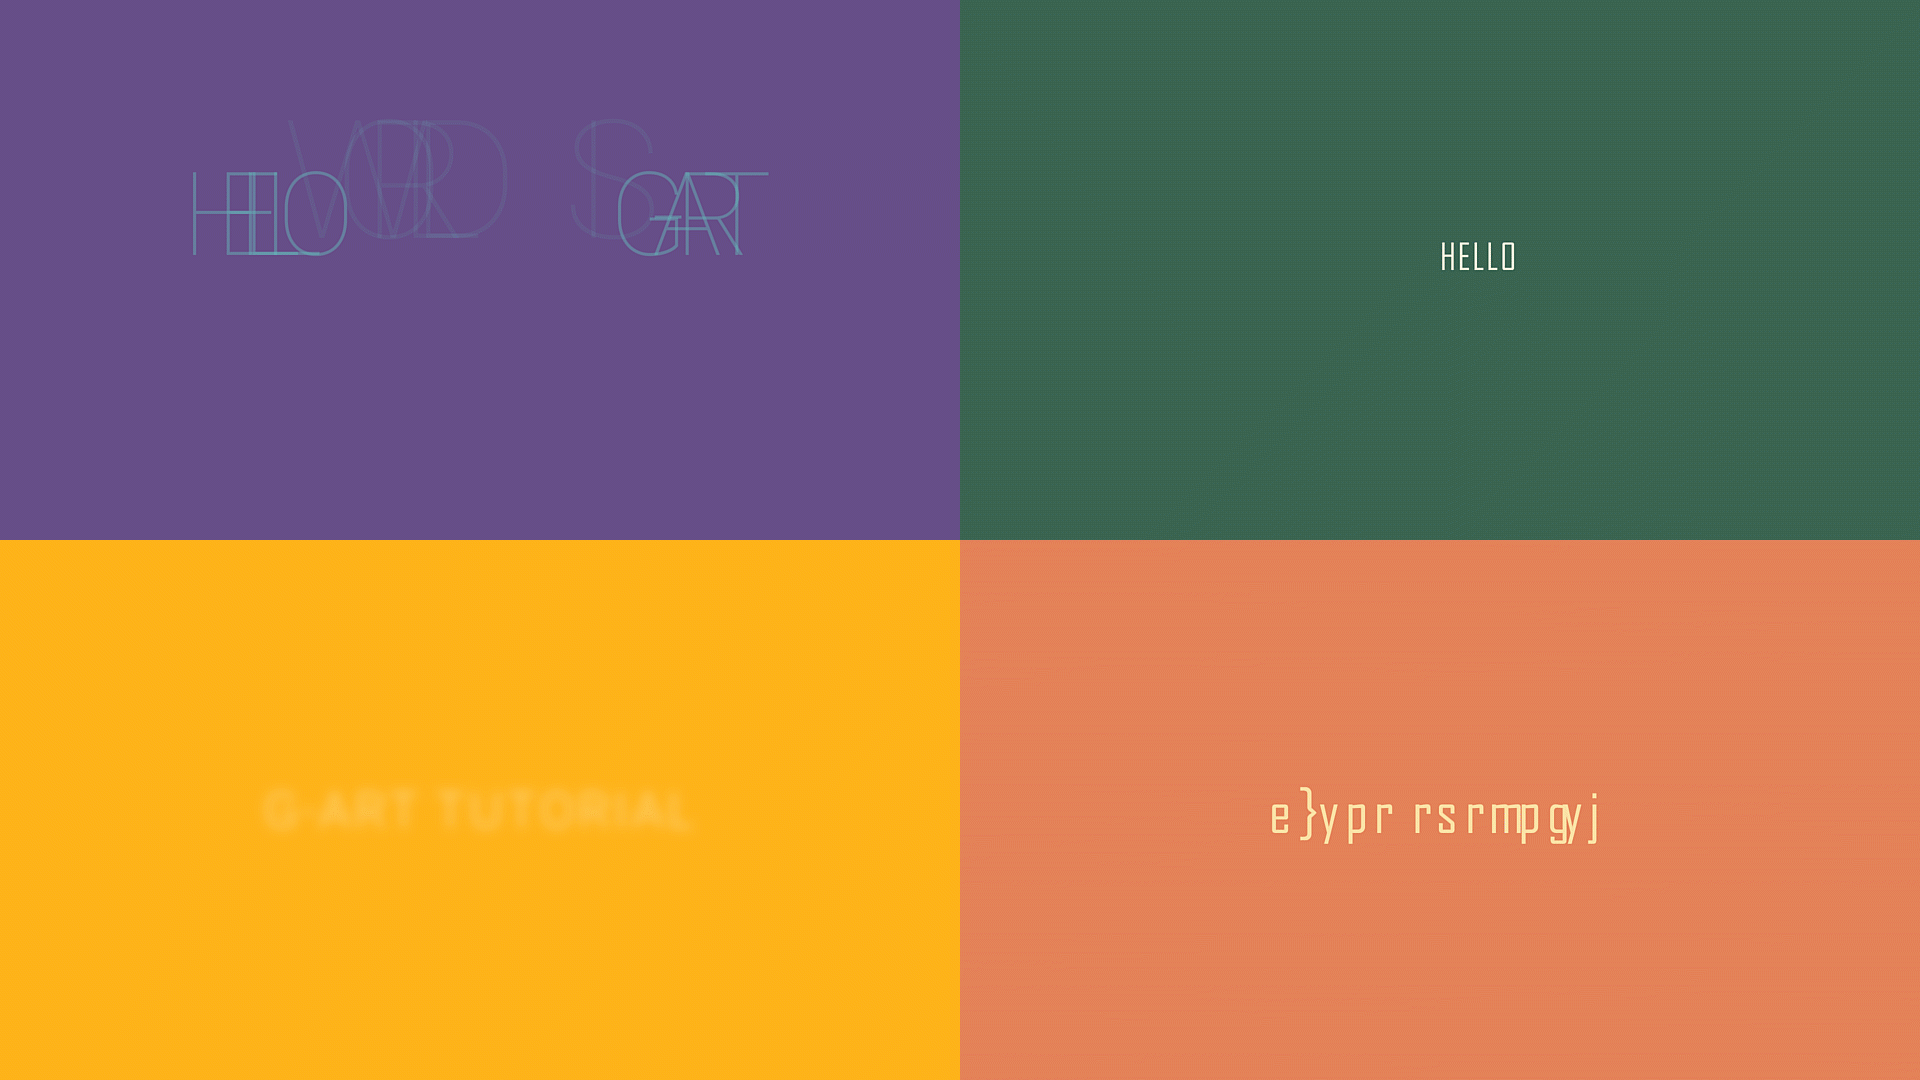
Source Text
One of the simplest and most attractive text animations is made by source text. By animating the source text, the characters themselves change to different characters or different character or paragraph formats over time.
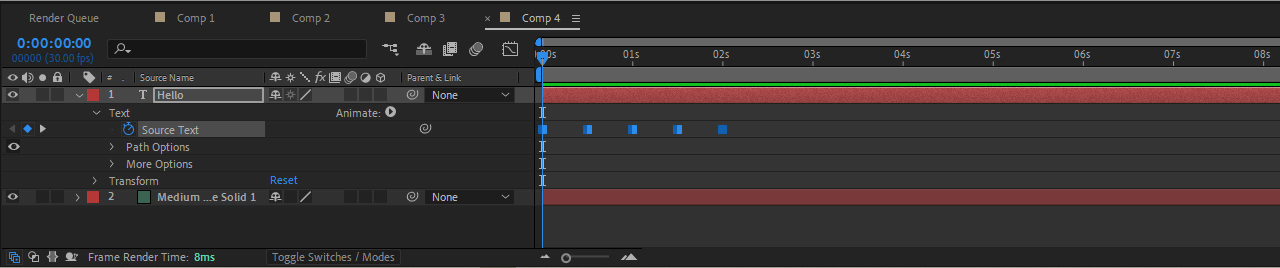
Source text is one of the main properties of the text layer. To create text animation with it, you must create keyframes at the desired times and change the text and style in each key frame.
For better learning, we suggest you to watch the tutorial video: Create Text Animation
Suggested tutorials: